
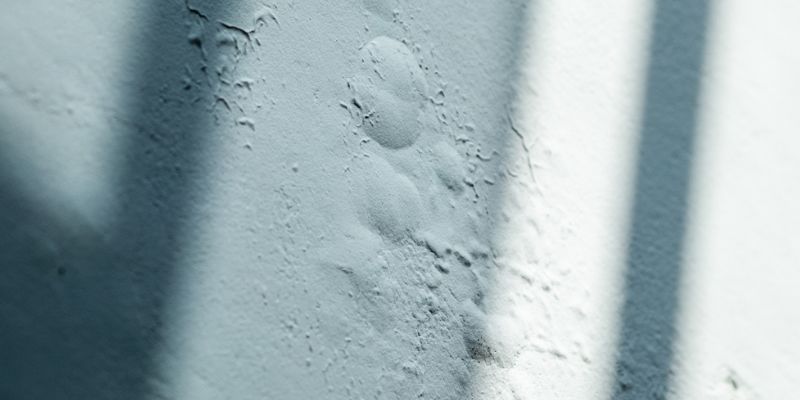
1. Moisture: The #1 Culprit Behind Paint Blisters
Moisture trapped beneath a drying coat of paint expands as temperatures rise. The expanding vapor pushes the soft paint film outward, creating a bubble that soon cracks and peels. Common sources include:
- Leaky roofs and gutters funneling water down exterior walls.
- High indoor humidity in bathrooms, kitchens, or basements without adequate ventilation.
- Condensation on cold surfaces—a frequent winter issue in New England homes.
Quick Fix
Find and fix leaks, install exhaust fans, and use a dehumidifier. Always let damp walls dry completely before painting.
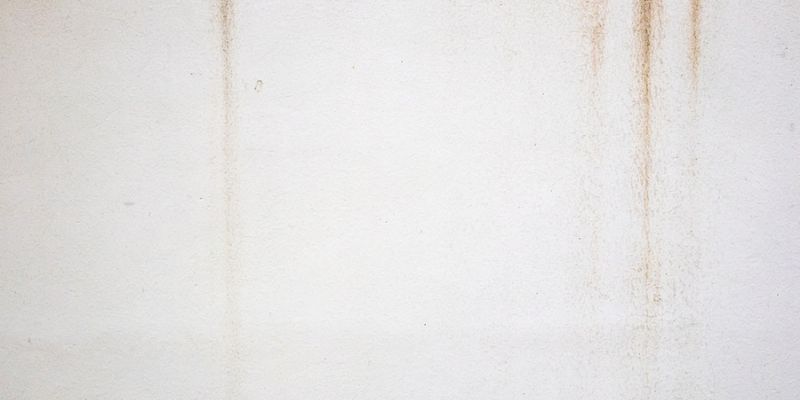
2. Painting a Dirty or Glossy Surface
Dust, grease, and gloss act like Teflon between paint and substrate. In Lynn’s coastal climate, salty air compounds the problem by depositing invisible residue.
Quick Fix
Clean walls with trisodium phosphate (TSP) or a mild degreaser. Lightly sand glossy finishes to create tooth for the new coat.
3. Skipping Primer or Using the Wrong Type
Primer seals porous materials, blocks stains, and improves adhesion. Using interior primer outdoors—or skipping primer altogether—invites bubbled paint on wall sections exposed to sun and rain.
Quick Fix
Match primer to surface (wood, drywall, masonry) and environment (interior, exterior, high-humidity). Allow the recommended drying time before applying paint.

4. Painting in Extreme Temperature or Humidity
Paint likes Goldilocks conditions—neither too hot nor too cold, with moderate humidity. Applying paint when it’s 90 °F outside or during a muggy Lynn summer afternoon traps solvents that later expand into bubbles.
Quick Fix
Check the manufacturer’s ideal temperature and humidity range. Aim for 50–85 °F and humidity below 70 %.
5. Layering New Paint Over Old Oil-Based Coats
Latex paint struggles to grip a slick, oil-based layer, leading to peeling rings around bubbles.
Quick Fix
Test old paint with denatured alcohol (latex softens; oil doesn’t). If it’s oil, sand lightly and prime with a bonding primer formulated for oil-to-latex transitions.

6. Poor Surface Prep on Exterior Wood
Sun-baked, weather-worn wood fibers detach from the board, taking paint with them.
Quick Fix
Scrape loose paint, sand to bare wood, replace rotted boards, and prime with an exterior wood primer.
7. Cheap Paint or Out-of-Date Cans
Budget paint often contains less binder and pigment, compromising adhesion. Likewise, paint stored in Lynn’s freezing garages loses consistency, causing bubble-prone coats.
Quick Fix
Invest in high-quality, fresh paint. Store leftovers indoors and check shelf life before reuse.
Preventing Bubbled Paint on Wall Surfaces: Pro Tips
- Plan the project window. Pick a dry spell of at least 48 hours.
- Test moisture content. Use a moisture meter; aim for ≤ 15 % in wood, ≤ 12 % in drywall.
- Prime smart. On raw drywall, stain-blocking primer; on patched spots, spot-prime.
- Use the right tools. Roller naps and brush bristles should match paint type and surface texture.
- Apply thin, even coats. Two thin layers bond better than one heavy coat that skins over and traps solvents.
- Respect recoat times. If the can says “wait 4 hours,” wait 4 hours.
Follow these steps and you’ll dodge most peeling nightmares—whether refreshing a historic Lynn triple-decker or a suburban ranch.

Repairing Existing Paint Bubbles and Peeling
- Score and scrape. Cut around the bubble with a utility knife, then lift away all loose paint.
- Feather-sand edges. Blend the crater into surrounding paint.
- Patch if needed. Fill gouges with lightweight spackle; sand smooth when dry.
- Prime the repair. Seal the area to equalize porosity.
- Repaint. Apply two thin coats, feathering outward to avoid lap marks.
Key Takeaways: A Blueprint for Bubble-Free Walls
Painting success hinges on three pillars: meticulous preparation, climate-smart timing, and premium materials. Address moisture sources first, scrub and prime every surface, and work only within that “just right” window of temperature and humidity. When you pair thin, even coats with top-grade, region-appropriate paint, you shut the door on bubbled paint on wall surfaces. Follow these steps—whether you own a historic Lynn triple-decker or a modern Midwest ranch—and you’ll lock in vibrant color, safeguard structural integrity, and enjoy a finish that withstands the seasons for years to come.