
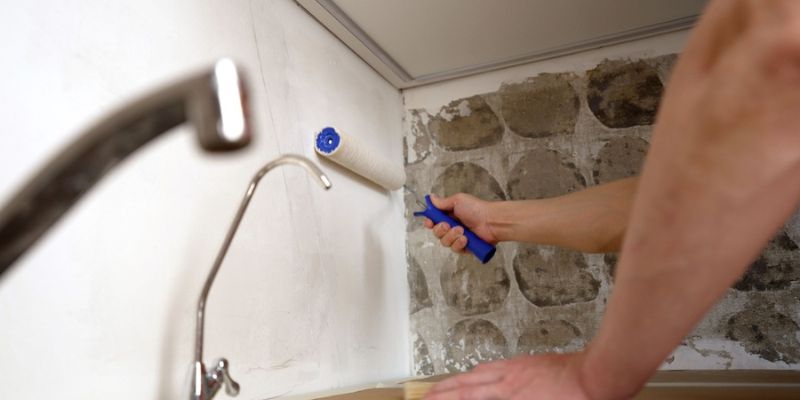
Kitchens ask more from paint than almost any other room. Steam, grease, fingerprints, and frequent cleaning can quickly expose the limits of the wrong coating. Choosing paint based only on color can leave you with stains, uneven shine, or a finish that wears too quickly.
The right kitchen paint combines color with washability, moisture resistance, and a sheen suited to the surface. Whether you are refreshing a kitchen in Lynn, MA, updating an older North Shore home, or planning a complete makeover, understanding finish performance can help you get a cleaner look that lasts.
What Makes the Best Paints for Kitchens Different?
The best paints for kitchens need to handle everyday wear without sacrificing appearance. Look for quality interior coatings designed for frequent cleaning and areas exposed to moisture. A durable formula should resist stains, tolerate gentle scrubbing, and maintain its finish after repeated wipe-downs.
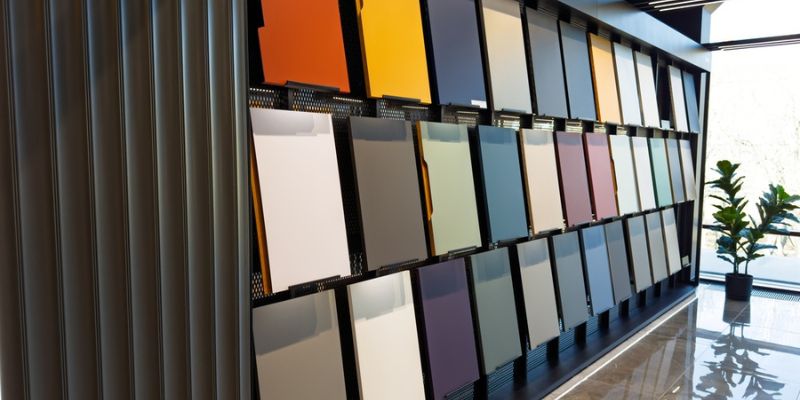
Sheen also matters. In general, finishes with more sheen offer greater durability and easier cleaning, while flatter finishes hide surface imperfections more effectively. That tradeoff makes it important to choose the finish according to where you plan to use it rather than covering the entire kitchen with one sheen.
Kitchen Paint Finishes: Which One Should You Choose?
Eggshell for a Softer Wall Finish
Eggshell has a low, subtle sheen that gives walls a smooth appearance without looking shiny. It can work well in kitchens that receive moderate use, especially when you choose a premium washable formula.
Because eggshell reflects less light than satin or semi-gloss, it also helps minimize the appearance of small wall imperfections. However, areas near ranges, sinks, and busy prep zones may benefit from a more durable finish.
Satin for the Best Balance
Satin remains one of the most versatile choices for kitchen walls. It offers a gentle sheen, cleans more easily than lower-luster finishes, and works well in busy rooms where spills and fingerprints happen regularly.
For many homeowners, satin provides the ideal middle ground: enough durability for everyday kitchen life without the noticeably glossy look of semi-gloss.
Semi-Gloss for High-Contact Areas
Semi-gloss provides a harder, more reflective finish that stands up well to moisture and frequent cleaning. It works especially well for trim, doors, baseboards, and other surfaces that receive constant contact.
Some homeowners also use semi-gloss on kitchen walls, particularly around high-use areas. Keep in mind that the extra shine can emphasize dents, patches, or uneven drywall, so careful preparation becomes especially important.
High-Gloss for Select Details
High-gloss paint creates a polished, highly reflective surface. Its durability can make it useful for cabinets, doors, and decorative details, but it demands excellent surface preparation because every flaw becomes easier to see.
For most kitchens, high-gloss works best as an accent finish rather than a wall-to-wall choice.

Where to Use Each Kitchen Paint Finish
Different kitchen surfaces face different conditions, so matching the paint to the surface can improve both appearance and performance.
For walls, satin usually offers a practical combination of washability and moderate shine. Eggshell can suit lower-contact walls when you prefer a softer appearance. Semi-gloss works well on trim, doors, and molding because these areas collect fingerprints and need regular wiping.
Kitchen ceilings generally need less scrubbing, so a flat or matte ceiling paint can reduce glare and disguise minor imperfections. If your kitchen produces significant humidity, choose a coating formulated to handle moisture.
Cabinets require a different approach. Use a durable cabinet or trim coating designed to cure to a hard, smooth finish. Satin and semi-gloss are popular choices because they combine cleanability with a refined appearance.
Durability Starts Before the First Coat
Even premium paint can fail when the surface underneath it is dirty, greasy, glossy, cracked, or poorly repaired. Kitchens require particularly careful preparation because cooking residue can interfere with adhesion.
Before painting, clean the surface thoroughly and remove grease near cooking areas. Repair dents, cracks, and nail holes. Sand glossy surfaces when necessary, remove dust, and apply the appropriate primer to patched, stained, bare, or difficult surfaces.
This preparation gives the new coating a better foundation and also helps the final finish look more even. In older Lynn and North Shore homes, careful prep can make an especially noticeable difference on walls, trim, and cabinets that have accumulated several previous coats of paint.
Cleaning Tips That Help Kitchen Paint Last
Once your kitchen is freshly painted, the way you clean it can affect how long the finish looks new.
Let fresh paint cure fully before washing it, following the coating manufacturer’s instructions. For routine cleaning, start with a soft microfiber cloth or nonabrasive sponge and mild soap diluted in warm water. Wipe gently instead of scrubbing aggressively.
Clean splashes and grease sooner rather than later so residue does not build up. Avoid abrasive pads, harsh solvents, and overly strong cleaners unless the paint manufacturer specifically allows them. Before using a new cleaning product, test it on a small, inconspicuous area.
For cabinets and trim, pay extra attention to handles, drawer fronts, and areas around the stove. Frequent light cleaning usually protects the finish better than occasional heavy scrubbing.
Do Not Let Color Distract You From Performance
Color changes how a kitchen feels, but the finish determines how that color behaves in daily use. Natural and artificial light can make the same shade look different throughout the day, while glossier finishes reflect more light and can make colors appear more intense.
Before committing, test samples on more than one wall and observe them at different times of day. Lighter colors can create an airy appearance, while deeper shades can add contrast to islands, lower cabinets, or accent areas.
The most successful result combines a color you enjoy with a finish suited to the surface and the amount of cleaning it will receive.

Common Kitchen Painting Mistakes to Avoid
Do not use one finish automatically on every surface. Walls, trim, ceilings, and cabinets have different performance needs. Avoid painting over grease or glossy surfaces without preparation, and do not assume that the highest sheen always delivers the best visual result.
Skipping primer when the surface needs it can also create uneven color or adhesion problems. Finally, avoid rushing between coats. Proper drying and curing help the coating develop the durability you selected it for in the first place.
Making the Right Choice for Your Kitchen
Cabinet painting and cabinet replacement solve different problems. Painting offers the best value when the cabinet boxes remain strong, the layout works well, and the main goal involves updating the color or finish. Replacement becomes the smarter investment when structural damage, limited storage, or an inefficient layout affects the kitchen’s function. Refacing may provide a middle option when the boxes remain usable but the door style needs to change.
Before deciding, evaluate the cabinets from the inside out and consider your budget, design preferences, tolerance for disruption, and long-term renovation plans. By focusing on the condition and functionality of the existing cabinetry, Lynn homeowners can choose an improvement that refreshes the kitchen without paying for unnecessary changes.